
Your Constant Contact audience may contain newsletter subscribers, customers, event attendees, and records imported by different people over several years.
When you prepare a campaign, those contacts need more than one review. Some have address problems. Some no longer belong in the selected audience. Others are still valuable but have a bounce history that needs interpretation.
A good cleanup combines what Constant Contact already knows with a fresh assessment of the candidate addresses. It also preserves unsubscribes and other exclusion decisions throughout the process.
Here is a practical workflow you can use before your next campaign without treating every bounce or unusual address as the same problem.
Begin with a defined campaign audience
Choose the list or segment you intend to use and explain why those contacts belong in the campaign.
For example, you might be preparing a monthly customer newsletter or reviewing last year's conference subscribers before this year's event announcement. Those are narrower, more useful scopes than trying to validate every contact the organization has ever stored.
Record the original count and the date of the snapshot. Identify the owner of the list and the person responsible for resolving ambiguous records.
If you cannot explain where a group came from or what messages its members expected, put that group into review before deciding whether technical validation is worthwhile.
Read the bounce categories before taking action
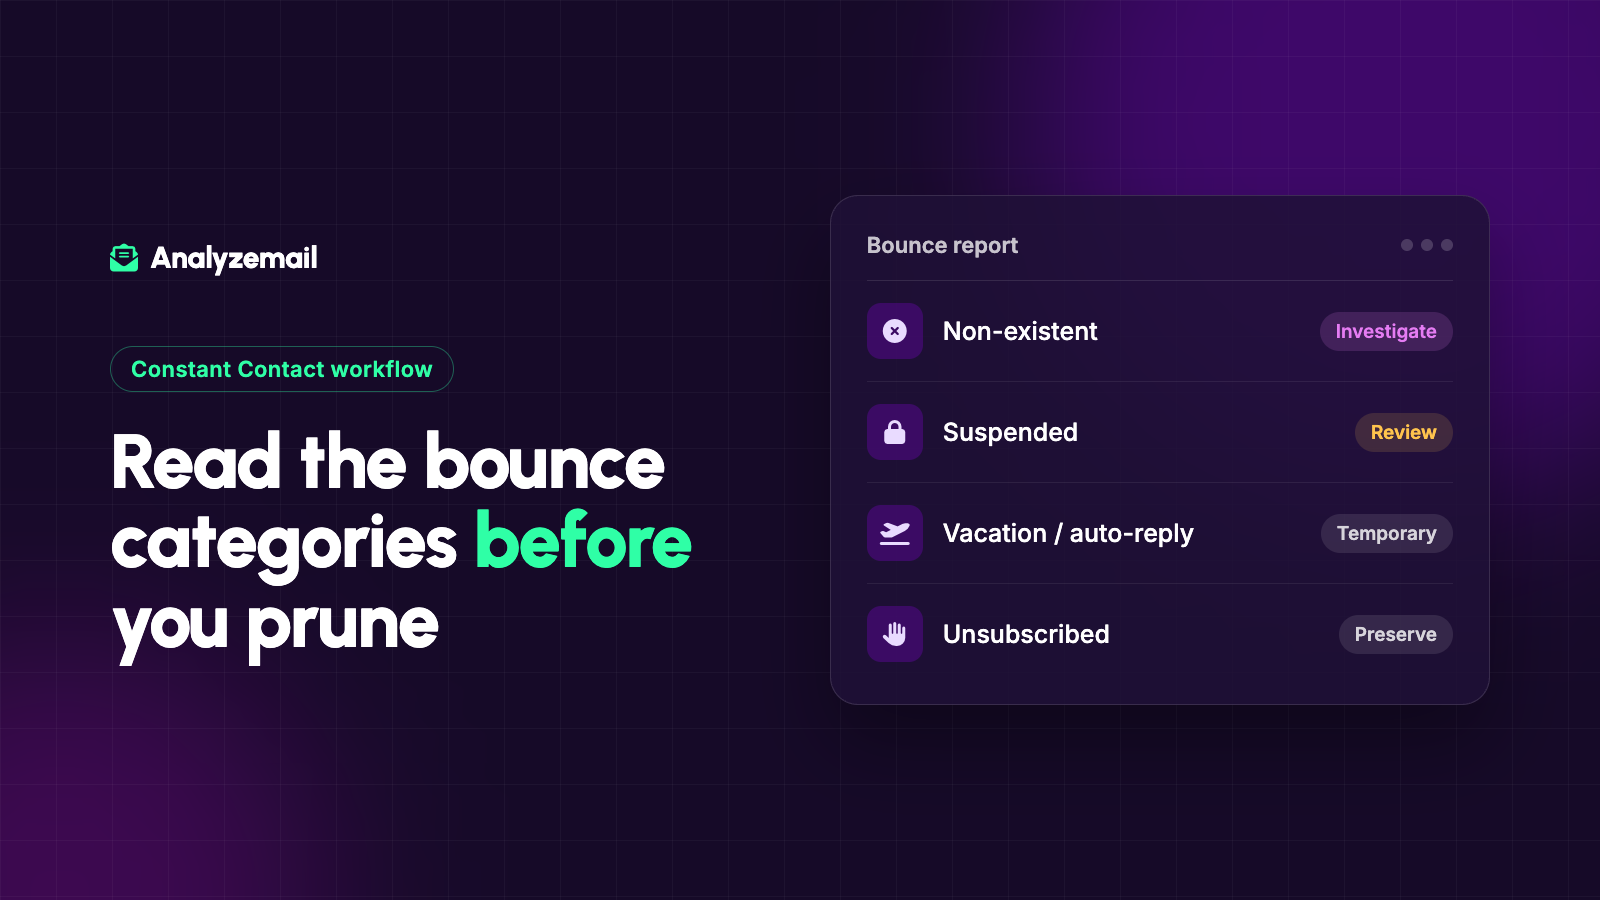
Constant Contact provides categories that help explain what happened during delivery. Its bounce-management documentation distinguishes conditions such as nonexistent, suspended, and other delivery issues.
A suspended address can reflect prior nonexistent-address failures across Constant Contact accounts, not just your own send history. It should not be treated as an invitation to bypass the platform's restriction.
An out-of-office response also deserves different handling from a nonexistent mailbox. Constant Contact documents a separate Vacation/Auto-Reply category.
Use the current category guidance when deciding what to remove, investigate, or leave alone. The word “bounced” by itself is not enough information.
Step 1: Save the data needed for reconciliation
Export or otherwise preserve your working audience and the relevant delivery history before making changes.
Keep email addresses, available record identifiers, subscription status, list membership, source information, and important customer context. Retain the bounce reason and date when available.
Make a separate copy for validation rather than editing your only master export. That gives you a reference if the final audience count looks wrong or a colleague asks why a contact was excluded.
Also note any active imports or integrations. A cleanup is not finished if another process will restore the same stale records next week.
Step 2: Protect current preferences
Remove unsubscribed and otherwise suppressed contacts from the proposed campaign audience. Preserve their status in the system that enforces it.
Do not use a validation result to reverse an unsubscribe. The result concerns the address, while the unsubscribe concerns what the recipient wants to receive.
Recheck live preferences before syncing the results back. An unsubscribe that occurred after your export must still win over the older file.
If a contact has asked your staff directly to stop marketing messages, make sure that instruction has been recorded through the appropriate platform process rather than left only in a salesperson's inbox.
Step 3: Investigate concentrated bounce patterns
Before assuming the entire list is poor quality, group recent failures by source, domain, and campaign.
A cluster from a single old import suggests a different fix from a cluster at one destination provider. The first may call for targeted address cleanup. The second may require investigation of the message, sending configuration, or receiving conditions.
Keep a record of recent changes, including new lists, altered sender details, and unusually large campaigns. Those details can help your provider or technical team interpret the report.
For a broader diagnostic process, use our guide to reducing email bounce rate.
Step 4: Validate the eligible candidate addresses
AnalyzeMail's Constant Contact integration supports bringing a list into AnalyzeMail and sending the checked list back. You can also work from a file when that better fits your review process.
Choose the checks that support the decisions you need to make, then retain the full findings. Do not rely only on a final total labeled clean.
The useful question is what the findings tell you to do with each address. Clear technical failures, uncertain results, and descriptive categories need different handling.
Keep customer context and preference records outside the validation upload when they are not needed for the check, but retain them in your master file for reconciliation.
Step 5: Create a review group for ambiguous cases
Catch-all findings do not confirm a specific mailbox. A role-based address may still be the correct contact for an organization. A free-provider address may belong to a loyal customer.
Assign those cases an action based on context instead of deleting them automatically.
| Review case | Question to answer |
|---|---|
| Catch-all contact | Do we have recent, credible relationship evidence? |
| Shared inbox | Is this the address the organization uses for this communication? |
| Old subscribed contact | Is the original purpose still relevant? |
| Suspected typo | Can we confirm the correction from a trusted source? |
| Conflicting status | Which system holds the latest authoritative preference? |
A review queue should have an owner and a deadline. Otherwise uncertain records tend to remain unresolved until someone adds them back under campaign pressure.
Step 6: Keep list membership separate from contact status
A contact's presence in a named list does not by itself answer every eligibility question. Your final campaign selection should still respect current preferences, suppressions, and the purpose of the message.
Likewise, removing a contact from one working list should not be assumed to enforce every future exclusion across the account. Use the platform's appropriate status and suppression mechanisms for that purpose.
Document what each proposed update is intended to change. If the operation is simply building a cleaner campaign list, make sure the team does not interpret it as a complete rewrite of customer history.
Refer to current Constant Contact documentation for the exact behavior of the action you choose.
Step 7: Verify a small update before applying the full result
Select representative records and confirm the outcome of your import or integration action.
Check an eligible subscriber, an unsubscribed contact, a failed address, and an uncertain record. Confirm that the latest preference remains intact and that the right contacts appear in the intended list or segment.
Then reconcile the total after the complete update. Keep the original population, exclusions, and pending reviews in a short project summary.
Remember that one address can have more than one finding. Adding category counts without accounting for overlap can make it look as though more contacts were removed than the audience contained.
Step 8: Review the next campaign and improve collection
Use the next comparable campaign to see whether the specific problem you identified has improved. Review address failures alongside meaningful responses and other business outcomes.
If a source continues to generate poor records, improve the signup or import process. If a recurring task keeps reintroducing excluded contacts, change that task.
A sustainable cleanup process should become easier over time because fewer records need manual investigation.
Turn a one-time cleanup into a repeatable routine
Constant Contact's delivery history tells you what happened during past sends. Validation adds pre-send address findings. Your subscription and customer records explain who belongs in the next audience.
Use those sources together. Start with AnalyzeMail to check the candidate list, then reconcile the findings before sending your next Constant Contact campaign.