
A campaign comes back with more bounces than usual. The tempting response is to remove every affected contact and send again.
That can eliminate some bad addresses. It can also discard working contacts while leaving the actual cause untouched.
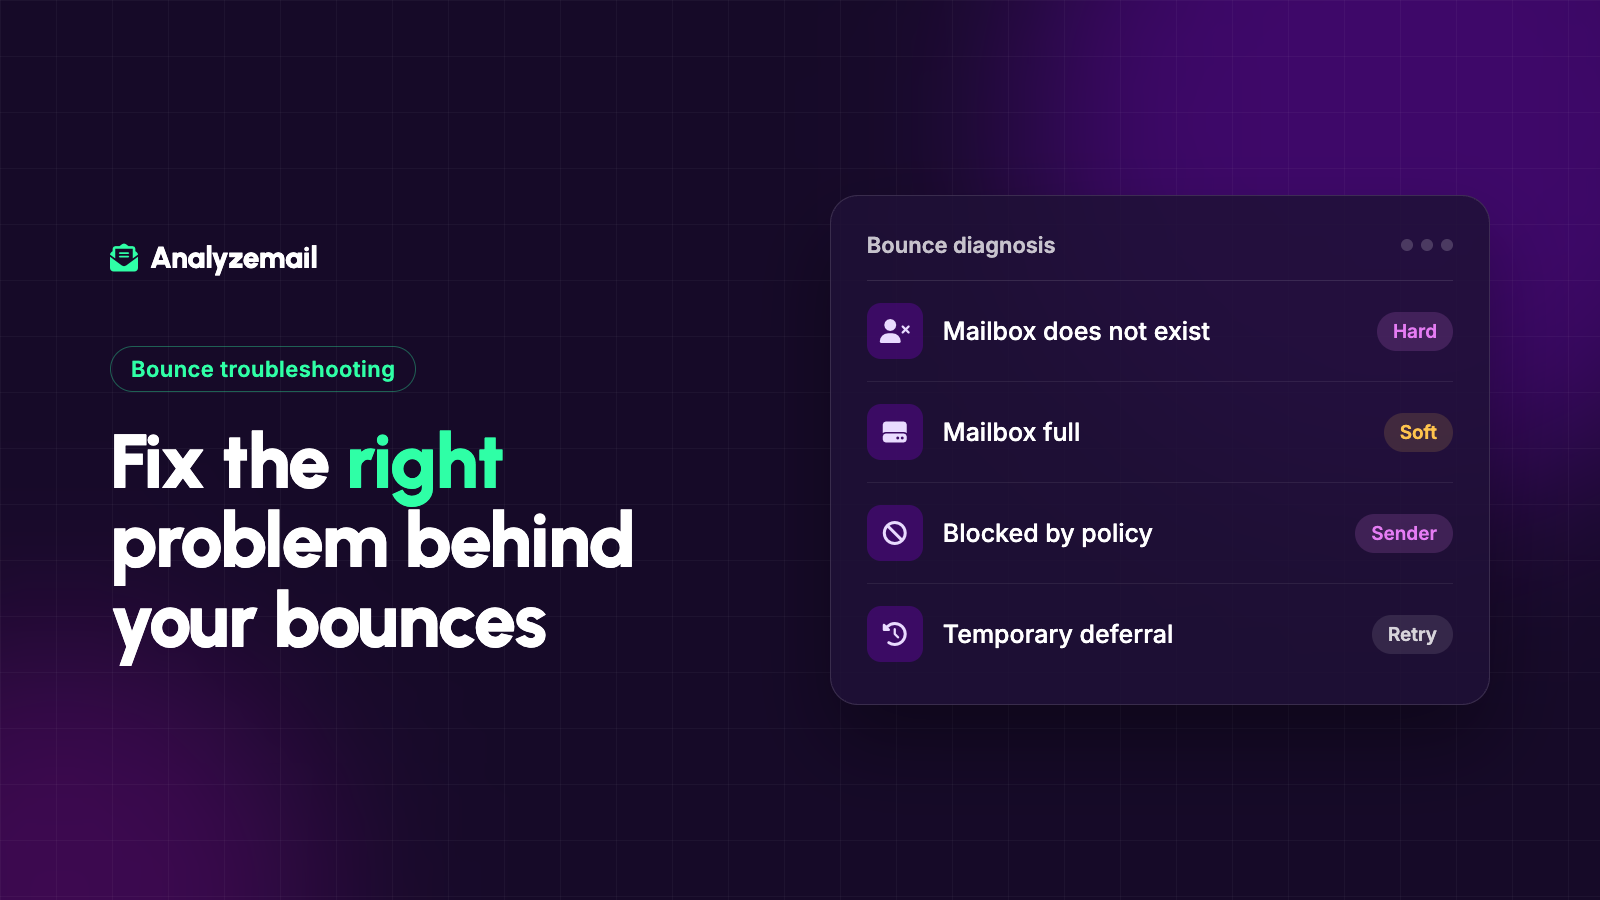
Reducing email bounce rate starts with understanding what failed. An address that no longer exists, a temporary receiving problem, and a policy rejection are not the same issue. They should not receive the same fix.
This guide gives you a practical way to investigate the increase, clean up address problems, and decide what to change before the next campaign.
Calculate the rate consistently
A common campaign calculation is:
Bounce rate = bounced messages ÷ attempted messages × 100
Suppose a hypothetical campaign attempts 12,000 messages and records 360 bounces. Its bounce rate is 3%.
That number describes the campaign, but it does not explain it. You still need to know how many failures were address-related, whether they clustered at one provider, and whether the audience differed from your usual sends.
Use your email platform's definition consistently. Platforms can report retries and final outcomes differently, so avoid comparing numbers from different tools without checking what each denominator includes.
Keep counts beside percentages. Twelve bounces out of 100 attempts and 1,200 out of 10,000 have the same rate but create different operational workloads.
Separate permanent and temporary failures
Mailchimp distinguishes hard and soft bounces as permanent and temporary delivery failures. Temporary causes can include a full mailbox or a receiving-server problem.
The useful next step is examining the explanation associated with the failure. Do not rely only on a red badge or a generic “bounced” column.
| Pattern in the report | What to investigate |
|---|---|
| Individual nonexistent recipients | Address accuracy and list age |
| Many failures at one destination domain | Domain-specific rejection or outage |
| Failures appearing after a sending change | Authentication or infrastructure changes |
| Failures concentrated in a new import | Collection source and record quality |
| Temporary deferrals across a large send | Sending pattern and receiving-server feedback |
These are investigation paths, not automatic diagnoses. The message attached to the failure and your sending history determine which explanation fits.
Step 1: Preserve the evidence
Export the affected campaign report before making changes. Include the destination address, reason, timestamp, campaign identifier, and final status where available.
Also record what changed before the campaign. Did you add an old event list? Move platforms? Change the sending domain? Introduce a new automated sequence? Double the audience?
A short change log is often more useful than a long list of possible causes. It narrows the investigation to things that could plausibly explain the timing.
If you have a sending provider or technical team, share the original error information with them. A screenshot that shows only the overall rate leaves out the details needed to help.
Step 2: Break down the failures
Group the report by destination domain, audience source, contact age, and campaign. Compare those groups with a recent successful send when possible.
Imagine the 360 hypothetical bounces came from two sources: 300 from a years-old conference export and 60 from the regular newsletter audience. That points toward the import as a priority.
Now imagine 320 failures occurred at one mailbox provider immediately after a sending-domain change. Cleaning the entire database would be a poorly targeted first response.
You do not need an elaborate dashboard to see these patterns. A pivot table or grouped report can reveal where to focus within minutes.
Step 3: Stop reintroducing known failures
When an address is confirmed unusable, exclude it from future sends and preserve the failure reason. Make sure automations, scheduled imports, and sales exports respect that decision.
A common operational mistake is fixing the campaign audience while leaving the source spreadsheet unchanged. The next import brings the same records back.
Document which system owns suppression. Then check every path that can create or reactivate a contact. The correction is incomplete until those paths honor the current state.
Do not treat a later technical pass as permission to restore someone who unsubscribed. Subscription status and deliverability status remain separate.
Step 4: Validate the remaining candidate audience
Before another send, assess the technical quality of the contacts you are actually considering for that campaign.
AnalyzeMail can help identify address and domain findings before you send. Keep the detailed results so your team can distinguish clear failures from uncertain or context-dependent records.
Do not automatically discard every role inbox or free-provider address. Review those categories according to the audience. Put catch-all and inconclusive results into a separate decision group.
For a complete preparation workflow, follow the email list cleaning guide.
Step 5: Investigate sending-side problems separately
If the evidence points to authentication, policy rejection, or sending infrastructure, give that work its own owner.
Google's sender guidelines identify authentication, sending practices, and recipient feedback as relevant to delivery. Address validation does not configure your sending domain or repair a rejected message.
Ask the technical owner to check the affected sending stream and review the exact rejection. Be specific about which campaign, platform, domain, and time window were involved.
Avoid changing several unrelated settings at once. When everything changes together, you lose the ability to tell which action helped and may create a new problem while investigating the old one.
Step 6: Resume with a defined monitoring plan
Once the identified issue is addressed, choose an appropriate eligible audience with recent relationship evidence. Do not use another full-list blast as your diagnostic test.
Decide in advance what your team will monitor, who can pause the send, and which failure patterns require review. Base those decisions on your normal performance and your provider's requirements.
There is no universal bounce percentage that guarantees safety for every sender. A sudden change can matter even when the overall number appears modest. A small campaign can also hide a concentrated problem behind its average.
Watch for recurrence of the original failure reason rather than judging success by the headline rate alone.
Step 7: Repair the collection process
A cleanup addresses the current records. Prevention addresses how future records enter the system.
Review forms for obvious entry mistakes. Preserve the source of each new contact. Confirm subscription requests where appropriate. Give staff a clear process for recording corrected customer details.
For manual imports, require an owner, a source description, and current preference information. A file named “final-list-new-2” should not be enough evidence to add thousands of contacts to a campaign.
If a particular channel consistently contributes weak records, improve the collection experience or stop using that source until you understand the problem.
Measure recovery with more than one number
Track address-related failures, provider-specific rejection patterns, complaint signals, and useful campaign outcomes over comparable sends.
An improvement in bounce rate is valuable, but removing half the audience will mechanically change the denominator. Keep the attempted count, delivered count, and business results visible so you can judge the actual effect.
Also measure whether suppressed contacts are reappearing. That is a process failure a validation tool alone cannot solve.
Turn bounce reports into a better next send
Every failure report is feedback about an address, a destination, or your sending process. Use it to make a specific correction.
If your investigation points to address quality, check the candidate list with AnalyzeMail. If it points elsewhere, resolve that issue alongside the cleanup. The goal is a smaller set of preventable failures and a clear explanation of what changed.